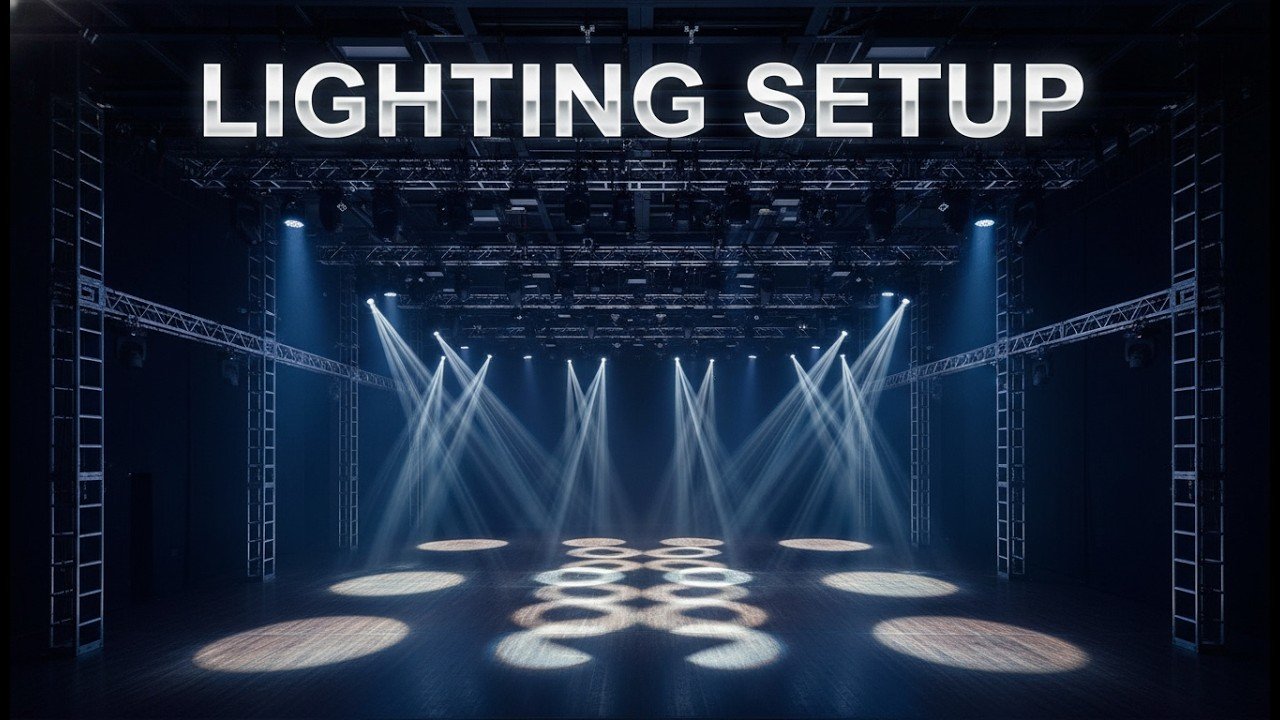
Event lighting for live streaming has a different job from lighting a room for the audience. The stage may look polished in person, but cameras can expose problems that are easy to miss on site: faces that are too dark, clipped highlights, mixed colour temperatures, visible LED flicker, harsh shadows, or a video wall that overwhelms the people standing in front of it.
For corporate events, conferences, panels, product launches and hybrid productions, the goal is not simply to make the stage brighter. The goal is to create a lighting environment that looks natural to the audience while also giving cameras a clean, consistent image across every angle.
Why event lighting changes when cameras are involved
A camera does not see a stage in the same way the human eye does. Our eyes continuously adapt to bright and dark areas, but a camera works within a defined exposure range. If a presenter is standing in a dark area while an LED wall behind them is extremely bright, the camera operator has to choose which part of the image to protect. That can result in a correctly exposed screen with an underexposed speaker, or a well-exposed speaker with a blown-out background.
This is why professional event lighting for streamed or recorded events should be planned together with the video system rather than treated as a separate decorative layer.
Start with controlled exposure, not maximum brightness
Good camera exposure comes from balance. The key light on a speaker, the ambient light in the room, practical fixtures, presentation screens and LED walls all contribute to the final image.
The lighting team should give cameras enough light to work with while preserving detail in faces, clothing and background elements. Excessive intensity can create hot spots on foreheads and cheeks, while insufficient light can force cameras to increase gain or ISO, introducing noise into the image.
What should be checked before the event starts?
- Face exposure from every active camera position.
- Highlight detail on light-coloured clothing and reflective surfaces.
- Background brightness compared with the presenter.
- Exposure changes when a presenter moves between stage positions.
- How presentation slides, projection surfaces or LED walls affect the camera image.
Exposure should be verified through the actual production cameras whenever possible. A stage that looks balanced to the eye can still appear very different through a camera sensor.
Skin tone should be the reference point
For conferences, interviews, panels and keynote presentations, faces are usually the most important visual element. Our conference stage lighting guide shows how to cover lecterns and panels for live audiences and cameras. Lighting should therefore be designed around accurate, flattering skin tone rather than around the brightest possible stage.
Soft front or three-quarter lighting generally produces a more natural result than a single hard source directly above the speaker. The objective is to create enough shape in the face without producing deep eye sockets, strong nose shadows or uneven exposure from one side of the face to the other.
Skin tone consistency also matters across the stage. If one seat on a panel is noticeably warmer, cooler or darker than the others, the difference becomes obvious when the director cuts between cameras.
Keep colour temperature consistent
Mixed colour temperature is one of the fastest ways to make a professional event look inconsistent on video. A presenter may be lit by a daylight-balanced front light while decorative fixtures behind them are much warmer or cooler. Cameras can compensate for one dominant colour temperature, but they cannot perfectly correct several conflicting sources at the same time.
Before the event, the lighting and camera teams should agree on a working white balance. Key and fill fixtures should then be set consistently around that target. Decorative lighting can still use colour creatively, but it should not contaminate faces or make skin tones shift from one camera angle to another.
Flicker can be invisible in the room and obvious on video
Some LED fixtures, dimmers, practical lights and display systems use pulse-width modulation or other electronic control methods that can produce flicker on camera. The audience may not notice anything, yet the recorded image can show rolling bands, pulsing brightness or unstable colour.
Flicker risk increases when the fixture refresh rate, camera shutter speed and frame rate interact poorly. For that reason, lighting should be tested at the same frame rate and shutter settings that will be used during the actual production.
When possible, use fixtures designed for broadcast or camera environments and avoid relying on untested consumer LEDs for key illumination. If a fixture must be dimmed, confirm that it remains flicker-free throughout the required intensity range.
Control shadows before they become a camera problem
Shadows create depth, but uncontrolled shadows can distract from the speaker or cause technical problems. A strong overhead light may create dark eye sockets. A hard frontal light can cast a large shadow onto a backdrop. A presenter standing too close to an LED wall or scenic element may create uneven contrast around the subject.
A useful setup typically combines a controlled key light with fill from another angle and enough separation from the background to keep the subject visually distinct. The exact arrangement depends on the stage, ceiling height, camera positions and number of presenters.
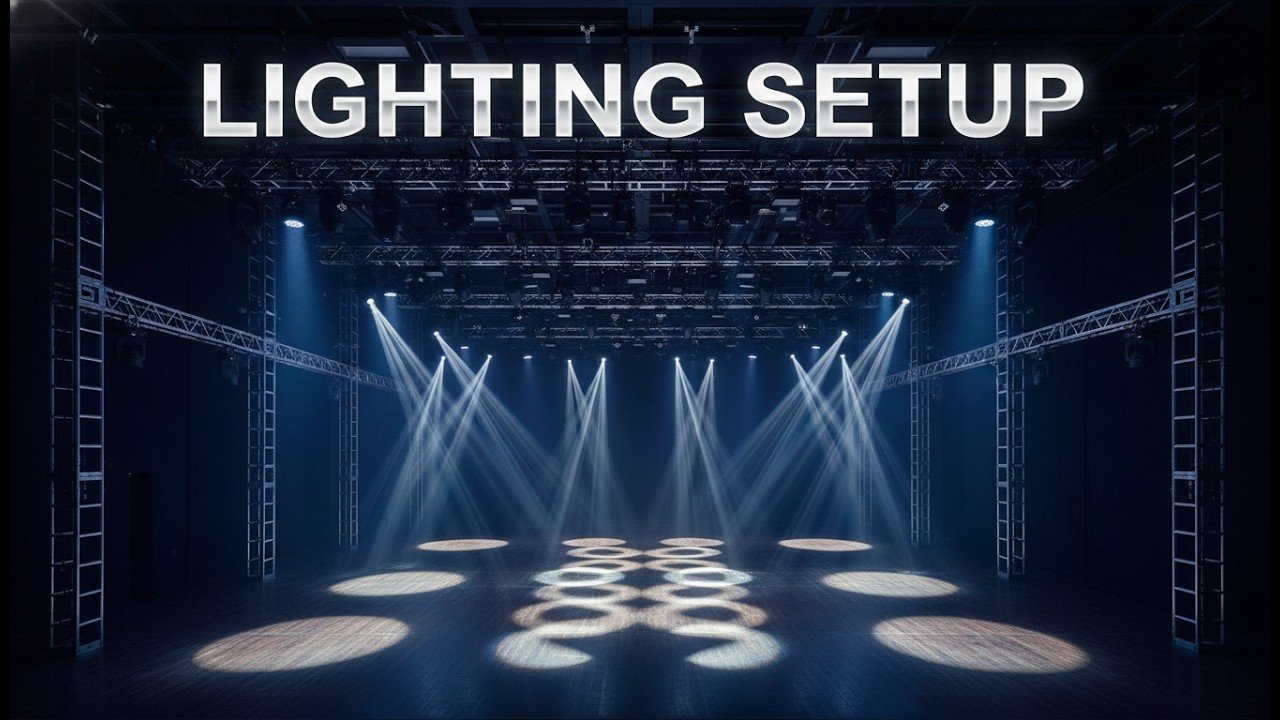
How to build a live stream lighting setup
A practical live stream lighting setup should create a predictable image before the camera operator starts compensating with gain, ISO or aggressive colour correction. For most speaker-led events, the starting point is controlled front light, enough fill to protect facial detail, and separation from the background.
Use three-point lighting as a framework, not a rigid formula
3 point lighting for streaming is useful because it separates three jobs: the key light defines the face, the fill controls contrast, and a back or rim light helps separate the presenter from the stage. In event production, fixture positions often have to adapt to truss locations, sightlines, screens and audience seating, so the exact geometry can change while the principle stays the same.
Prioritize face lighting for streaming
Face lighting for streaming should remain soft enough for natural skin texture while still giving cameras sufficient exposure. Avoid placing all front light directly overhead, because that can deepen shadows around the eyes and under the chin. A balanced front or three-quarter angle generally gives more consistent results for speakers and panelists.
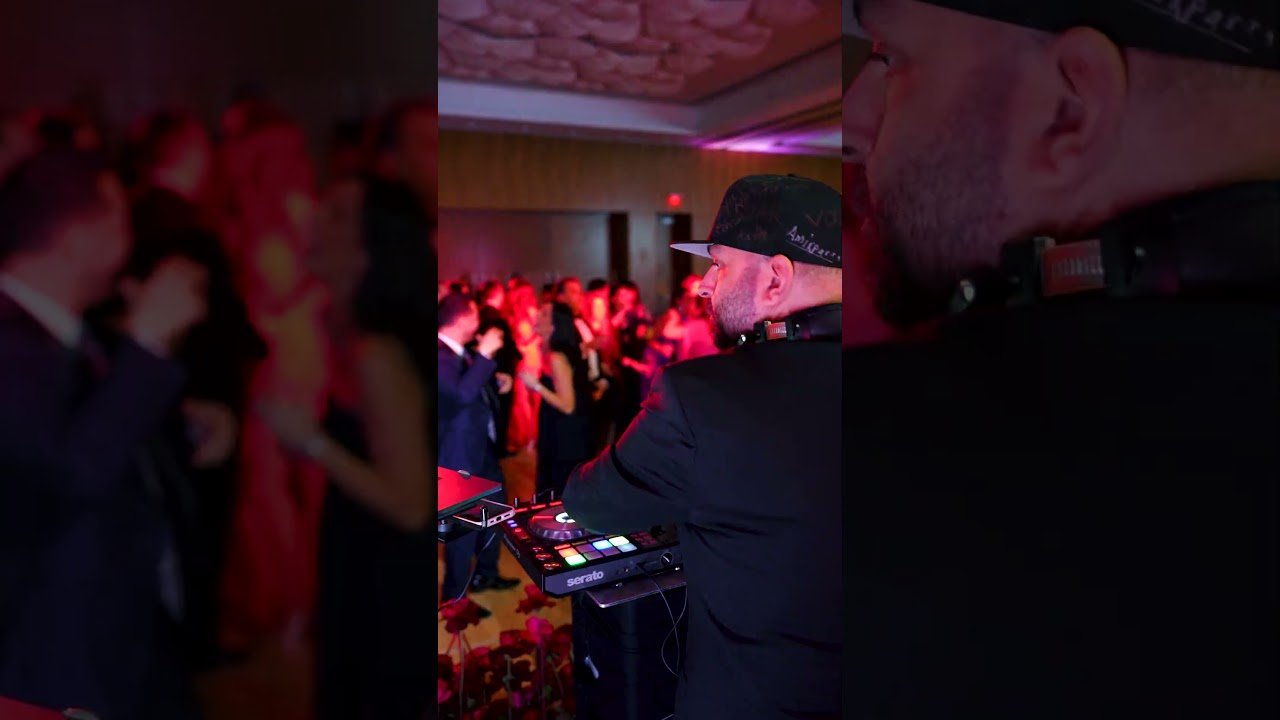
Danesh Production uses this type of coordinated lighting and camera workflow across corporate and hybrid events where the stage has to work for both the in-room audience and the video feed.
Lighting for multi-camera event production
Multi-camera production changes the lighting requirement because every important stage position has to work from several viewing angles. A lighting setup that looks excellent from the centre camera can become uneven when the director cuts to a side camera, roaming camera or tight close-up.
For live streaming production, the lighting plan should be reviewed against the full camera map before the event begins.
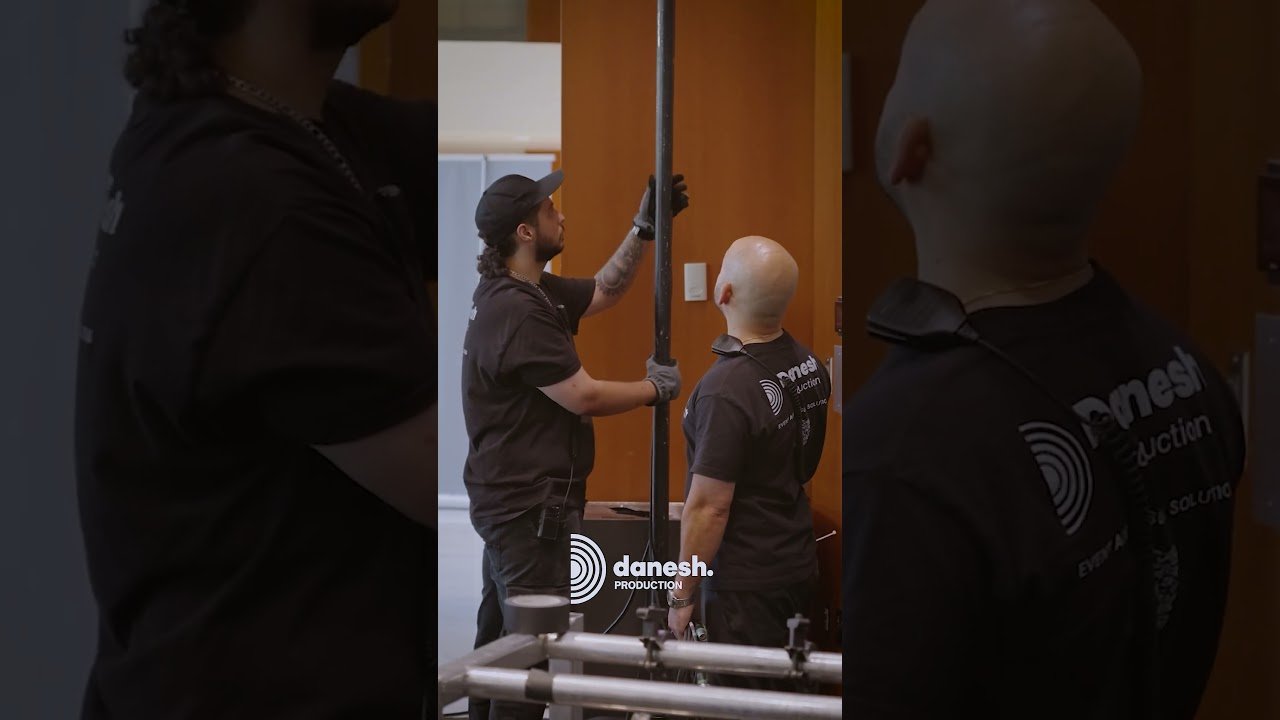
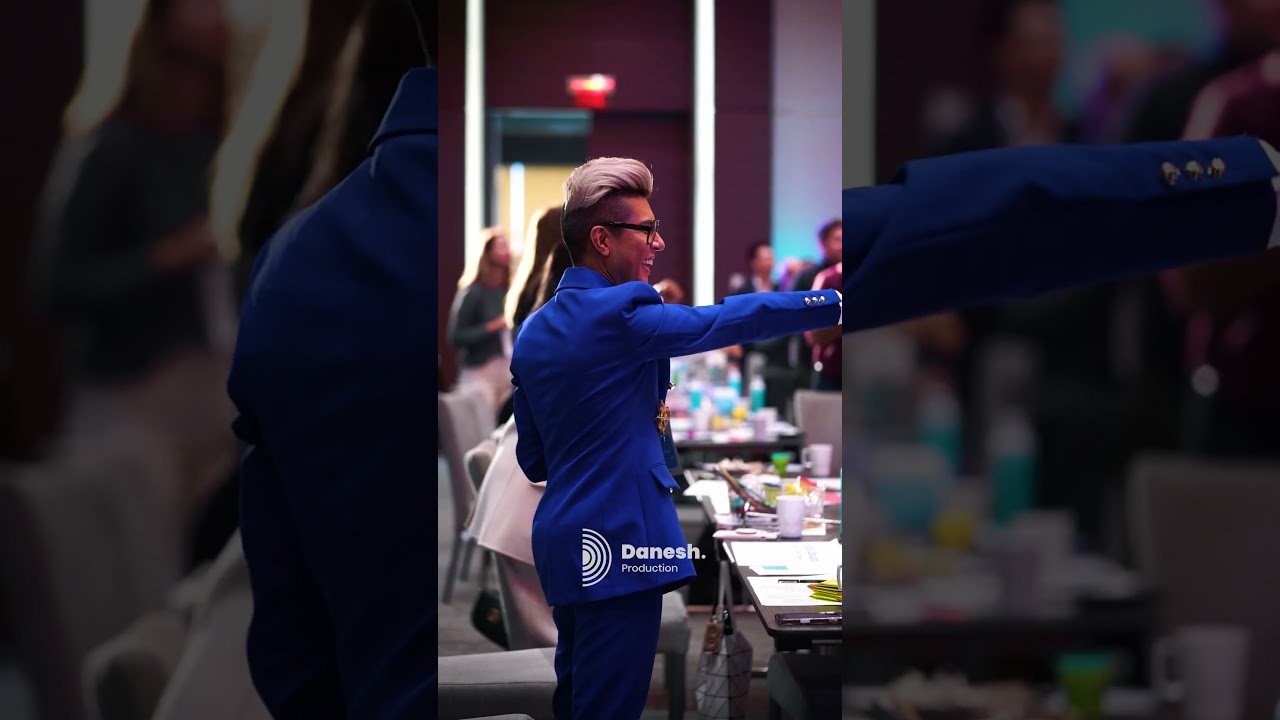
This Danesh Production runway project combines lighting, LED wall, stage production and live streaming in one technical environment—a useful example of why camera positions and stage lighting need to be planned together.
Key considerations for multi-camera coverage
- Wide camera: The complete stage should have balanced exposure without obvious dark zones.
- Close-up cameras: Faces need enough soft, directional light for clean skin tone and facial detail.
- Side cameras: Lighting angles should not create extreme contrast when the subject is viewed from the side.
- Panel discussions: Every seat should receive similar intensity and colour temperature.
- Moving presenters: Walk paths should be lit consistently so exposure does not change dramatically while someone moves.
This is especially important for events with live switching. When two cameras show the same person with noticeably different exposure or colour, the cut between them becomes visually distracting.
Coordinate event lighting with LED wall brightness
LED walls are bright, high-contrast sources inside the camera frame. If their brightness is set only for the in-room audience, they can overpower presenters on camera. The camera team may then reduce exposure to protect the screen, causing faces to become too dark.
The solution is coordination rather than simply adding more light. The lighting team, video team and camera operators should balance presenter illumination with the output of the LED wall and video display system.
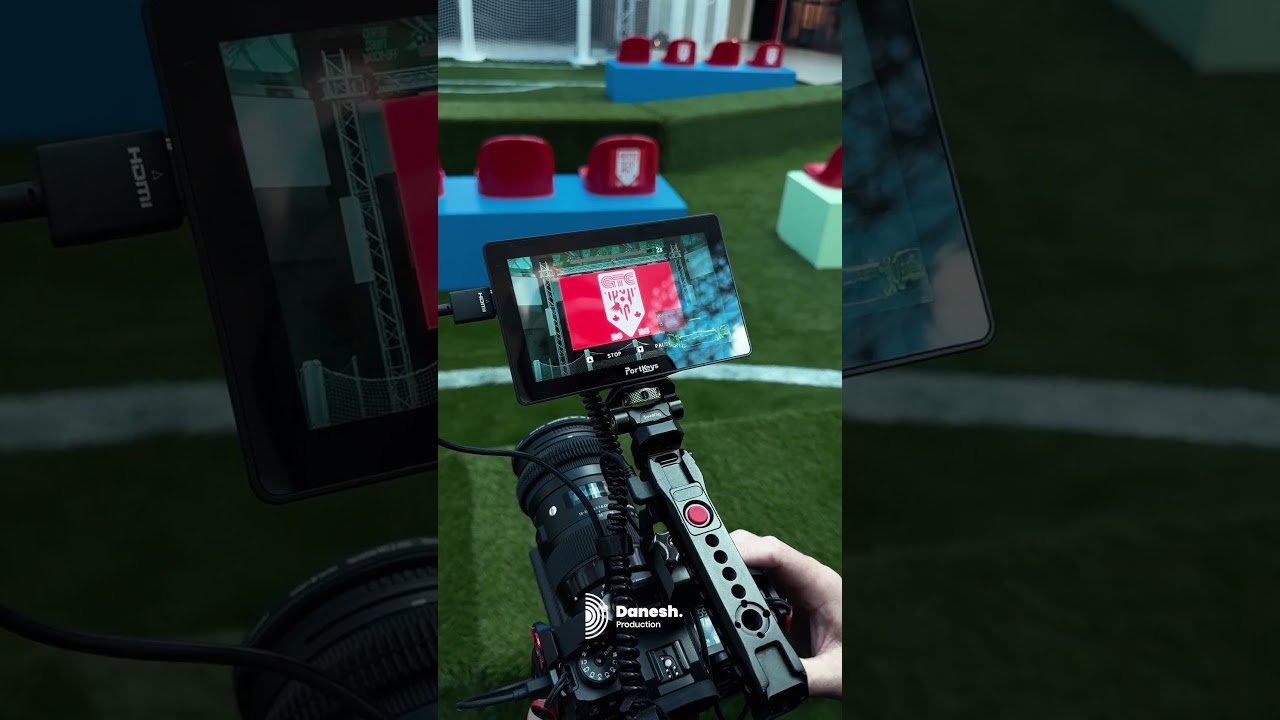
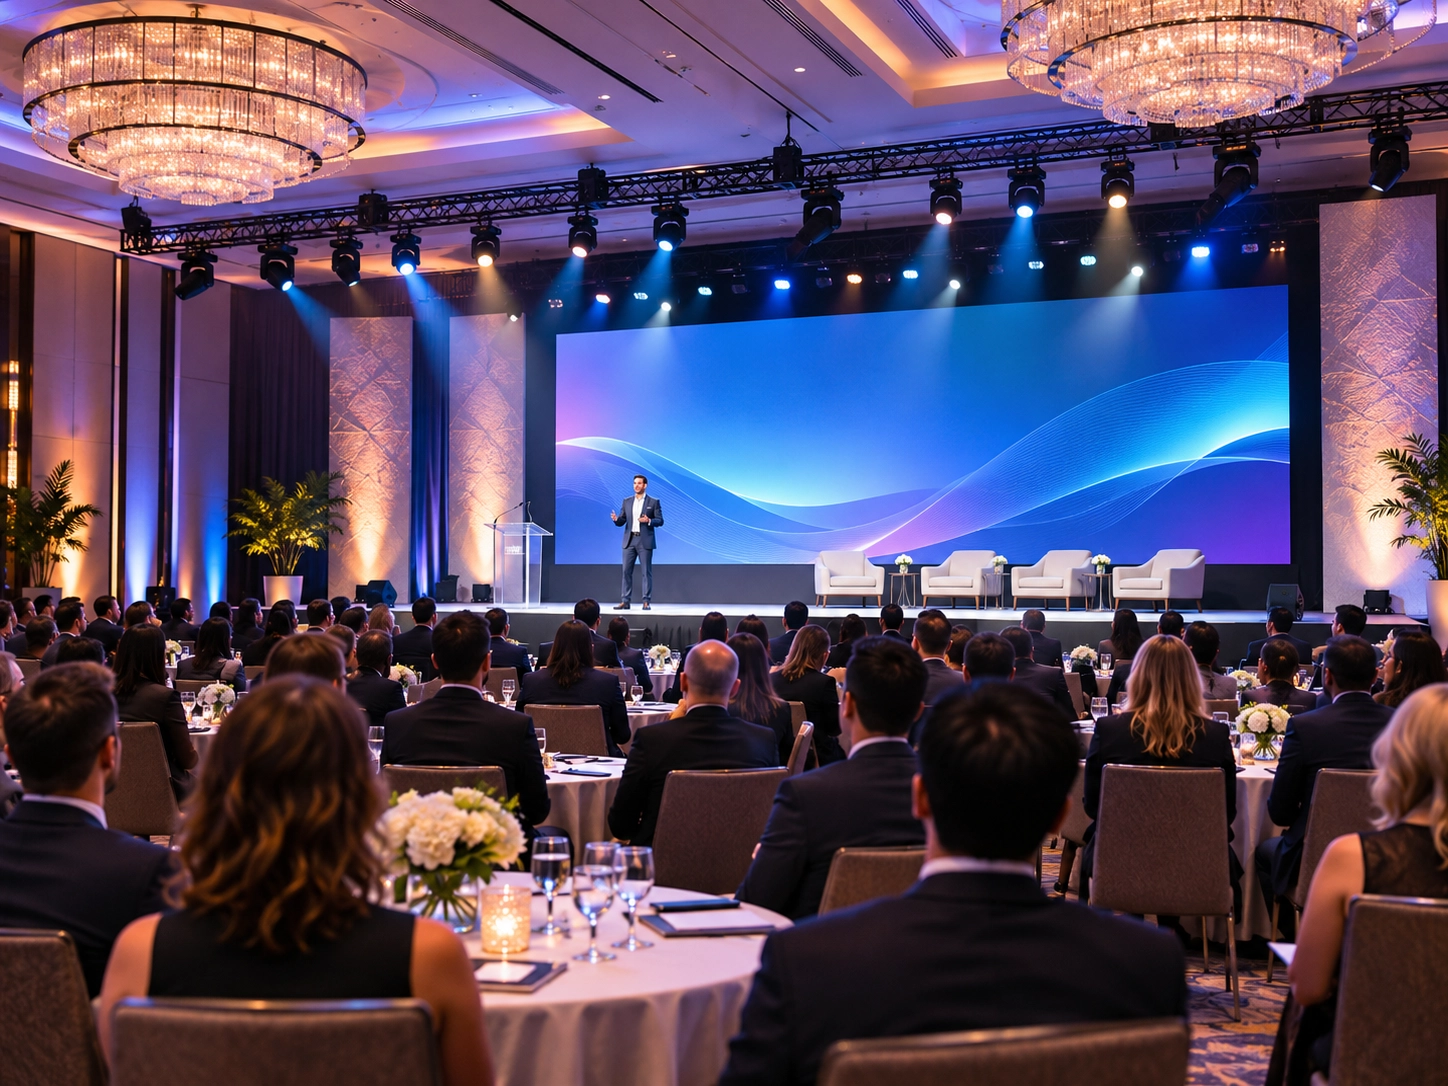
This Danesh Production LED wall project shows the type of high-output display that must be balanced against stage lighting when the screen sits inside the camera frame.
A practical LED wall and lighting workflow
- Set the LED wall to representative event content rather than a black test screen.
- Check both the brightest and darkest presentation slides or video content.
- Adjust LED wall brightness until the screen retains detail without dominating the subject.
- Set key lighting on presenters to maintain natural skin exposure.
- Check white balance and colour reproduction with the wall active.
- Test wide shots and tight close-ups before doors open.
Content design matters too. Large white backgrounds on presentation slides can create a much brighter camera image than darker branded content. Testing representative slides helps the production team avoid surprises during the live program.
Watch reflective surfaces, glasses and lecterns
Camera-ready lighting also requires attention to reflections. Glass lecterns, glossy tables, eyeglasses, metallic staging elements and polished floors can reflect key lights directly into the lens.
Small changes in fixture angle or presenter position can often solve these issues without changing the overall look of the stage. These checks are best done during camera rehearsal, when operators can identify reflections from each lens position.
Build a lighting rehearsal into the production schedule
A camera-ready event should have dedicated time for lighting and camera checks before the audience arrives. This does not need to be a full rehearsal, but the production team should have enough time to place a person in each presentation position and verify the image through every active camera.
During this check, confirm exposure, skin tone, white balance, flicker, shadows and LED wall interaction. If the event includes multiple presenters, panels or movement across the stage, test those positions as well.
Camera-ready event lighting checklist
- Key and fill lighting produce consistent facial exposure.
- Skin tones look natural across all active cameras.
- Colour temperature is consistent on presenters.
- LED fixtures are tested for flicker at the production frame rate and shutter settings.
- Hard shadows are controlled on faces and backdrops.
- All panel seats and presenter positions have similar exposure.
- Side and roaming camera angles have been checked.
- LED wall brightness is balanced with presenter lighting.
- Bright presentation content has been tested.
- Reflections from glasses, lecterns and glossy surfaces are controlled.
Plan lighting, cameras and screens as one production system
The best event lighting for live streaming is designed as part of the complete video workflow. Cameras, lighting fixtures, LED walls and stage positions all affect one another, so treating them as separate systems creates unnecessary compromises during the live show.
When lighting and video teams coordinate exposure, colour temperature, camera angles and display brightness before the event begins, the result is more consistent for the audience in the room and significantly more professional for viewers watching remotely or seeing the recording later.